Angular CLI is a command-line interface for the Angular framework, which is used to create, build and run your application locally while developing.
It is designed to build and test an Angular project on a development server. However, if you want to run/keep your applications alive forever in production, you need a Node.js process manager such as PM2.
PM2 is a popular, advanced, and feature-rich production process manager for Node.js applications with a built-in load balancer.
Its feature set includes support for application monitoring, efficient management of micro-services/processes, running applications cluster mode, and graceful restart and shutdown of applications. Also, it supports easy management of application logs, and so much more.
In this article, we will show you how to run Angular applications using Angular CLI and PM2 Node.js process manager. This allows you to run your application continuously during development.
Requirements
You must have the following packages installed on your server to proceed:
Note: If you already have Node.js and NPM installed on your Linux system, jump to Step 2.
Step 1: Installing Node.js in Linux
To install the latest version of Node.js, first, add the NodeSource repository on your system as shown and install the package. Do not forget to run the correct command for the Node.js version you want to install on your Linux distribution.
Install Node.js on Ubuntu
------------- For Node.js v19.x -------------
$ curl -fsSL https://deb.nodesource.com/setup_19.x | sudo -E bash - &&\
$ sudo apt-get install -y nodejs

------------- For Node.js v18.x -------------
$ curl -fsSL https://deb.nodesource.com/setup_18.x | sudo -E bash - &&\
$ sudo apt-get install -y nodejs

------------- For Node.js v16.x -------------
$ curl -fsSL https://deb.nodesource.com/setup_16.x | sudo -E bash - &&\
$ sudo apt-get install -y nodejs

------------- For Node.js v14.x -------------
$ curl -fsSL https://deb.nodesource.com/setup_14.x | sudo -E bash - &&\
$ sudo apt-get install -y nodejs
Install Node.js on Debian
------------- For Node.js v19.x -------------
$ curl -fsSL https://deb.nodesource.com/setup_19.x | bash - &&\
$ sudo apt-get install -y nodejs

------------- For Node.js v18.x -------------
$ curl -fsSL https://deb.nodesource.com/setup_18.x | bash - &&\
$ sudo apt-get install -y nodejs

------------- For Node.js v16.x -------------
$ curl -fsSL https://deb.nodesource.com/setup_16.x | bash - &&\
$ sudo apt-get install -y nodejs

------------- For Node.js v14.x -------------
$ curl -fsSL https://deb.nodesource.com/setup_14.x | bash - &&\
$ sudo apt-get install -y nodejs
Install Node.js on RHEL-based Distributions
------------- For Node.js v19.x -------------
$ curl -fsSL https://rpm.nodesource.com/setup_19.x | sudo bash -
$ sudo yum install -y nodejs

------------- For Node.js v18.x -------------
$ curl -fsSL https://rpm.nodesource.com/setup_18.x | sudo bash -
$ sudo yum install -y nodejs

------------- For Node.js v16.x -------------
$ curl -fsSL https://rpm.nodesource.com/setup_16.x | sudo bash -
$ sudo yum install -y nodejs

------------- For Node.js v14.x -------------
$ curl -fsSL https://rpm.nodesource.com/setup_14.x | sudo bash -
$ sudo yum install -y nodejs
Besides, also install development tools on your system so that you can compile and install native addons from NPM.
$ sudo apt install build-essential  [On Debian/Ubuntu]
# yum install gcc-c++ make          [On CentOS/RHEL]
# dnf install gcc-c++ make          [On Fedora]
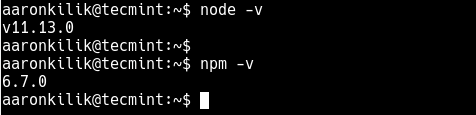
Once you have Node.js and NPM installed, you can check their versions using the following commands.
$ node -v
$ npm -v
Step 2: Installing Angular CLI and PM2
Next, install Angular CLI and PM2 using the npm package manager as shown. In the following commands, the -g option means to install the packages globally – usable by all system users.
$ sudo npm install -g @angular/cli        #install Angular CLI
$ sudo npm install -g pm2                 #install PM2
Step 3: Creating an Angular Project Using Angular CLI
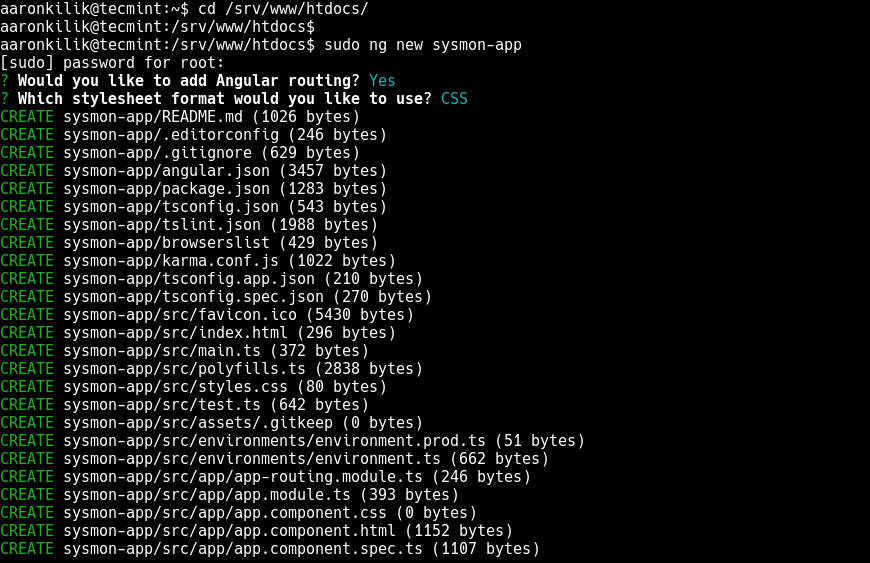
Now move into the webroot directory of your server, then create, build, and serve your Angular app (called sysmon-app, replace this with the name of your app) using Angular CLI.
$ cd /srv/www/htdocs/
$ sudo ng new sysmon-app        #follow the prompts
Next, move into the application (full path is /srv/www/htdocs/sysmon-app) directory which has just been created and serves the application as shown.
$ cd sysmon-app
$ sudo ng serve
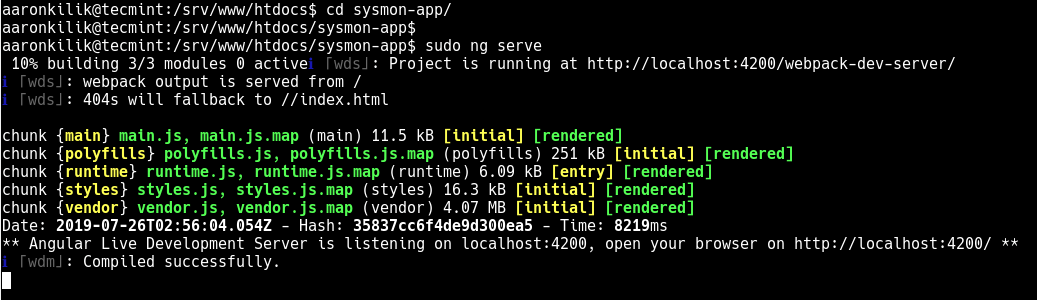
From the output of the ng serve command, you can see that the Angular app is not running in the background, you can not access the command prompt anymore. Therefore you can not execute any other commands while it is running.
So, you need a process manager to control and manage the application: run it continuously (forever) and also enable it to auto-start at system boot as explained in the next section.
Before you go to the next section, terminate the process by pressing [Ctl + C] to free up the command prompt.

Step 4: Running Angular Project Forever Using PM2
To make your new application run in the background, freeing up the command prompt, use PM2 to serve it, as shown. PM2 also aids common system administration tasks such as restarting on failure, stopping, and reloading configurations without downtime, and much more.
$ pm2 start "ng serve" --name sysmon-app

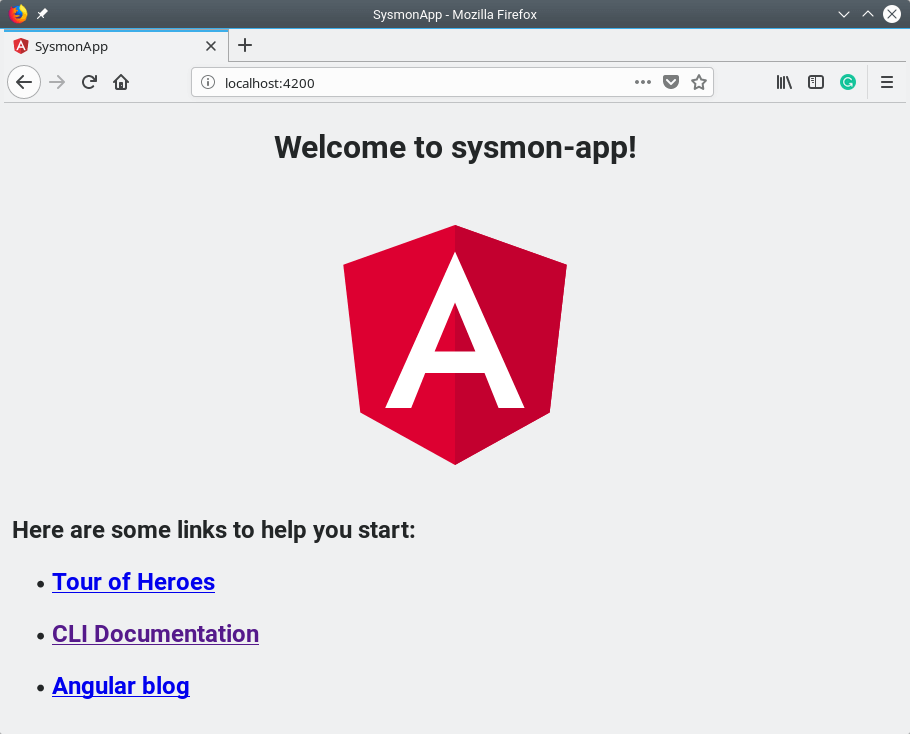
Next, to access your application’s web interface, open a browser and navigate using the address http://localhost:4200 as shown in the following screenshot.
In this guide, we have shown how to run Angular applications using Angular CLI and PM2 process manager. If you have any additional ideas to share or questions, reach us via the feedback form below.
The command
pm2 start ng serveis not working anymore?@Paulo,
The command
pm2 start "ng serve"is working fine, I just tried it on my Rocky Linux 9, and here is the command output: